If you have ever found yourself navigating the WordPress dashboard, meticulously adding new posts and scheduling them manually, this video reveals how to replace that routine with simple natural language commands.
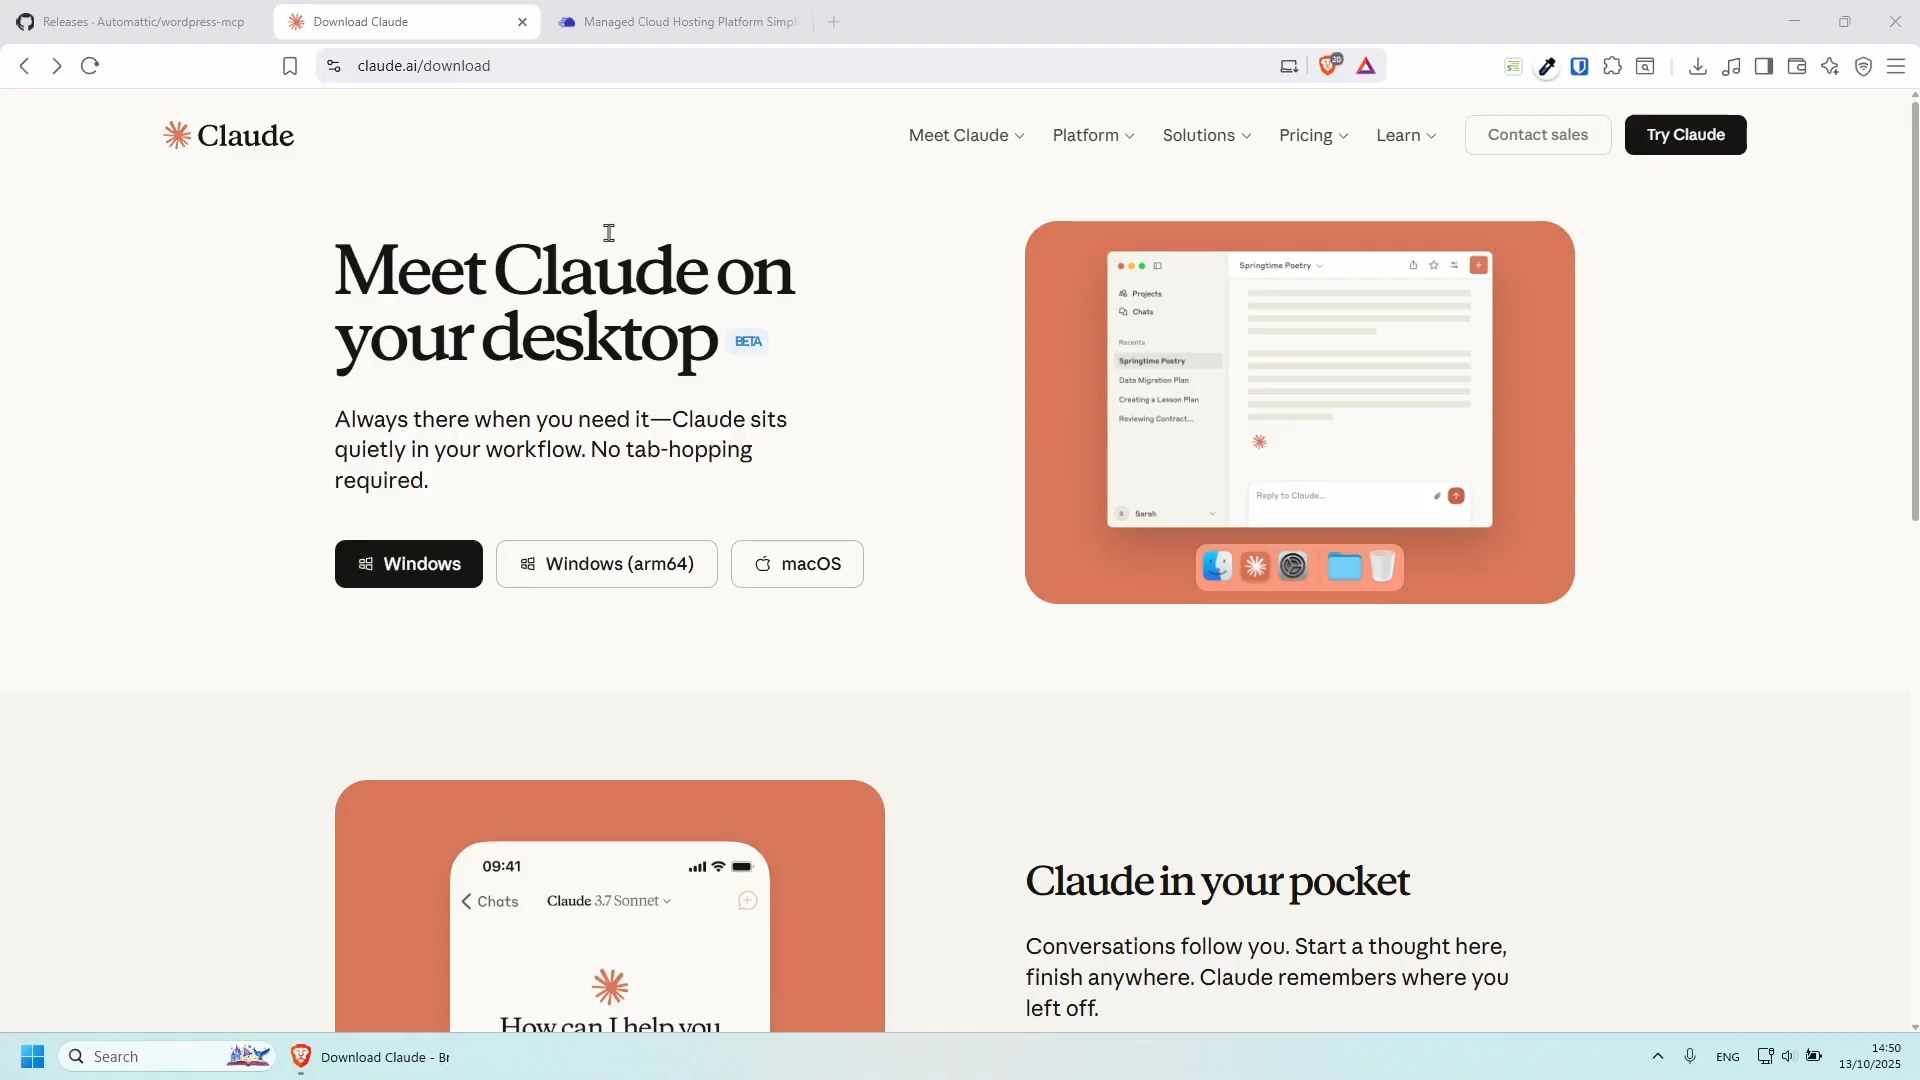
1. MCP Plugin Introduction
An illustration showing Claude AI securely interacting with a WordPress site through the MCP plugin and REST API.
The WordPress MCP plugin allows Claude Desktop to interact with WordPress through the REST API without direct database access. You need a way for AI to securely manage content without risking your site's integrity. That's where the Model Context Protocol (MCP) plugin comes in, acting as an open standard to facilitate safe interactions between AI tools and WordPress through its REST API. It ensures that all commands, from creating posts to updating settings, are handled via secure, permission-based routes, giving the AI no direct access to your database. Essentially, MCP provides a secure and standardized bridge, enabling AI to work seamlessly with your WordPress site while maintaining data integrity.
Key Points
- Model Context Protocol (MCP) explained
- Secure AI-WordPress interaction
- Utilizes WordPress REST API
- No direct database access for AI
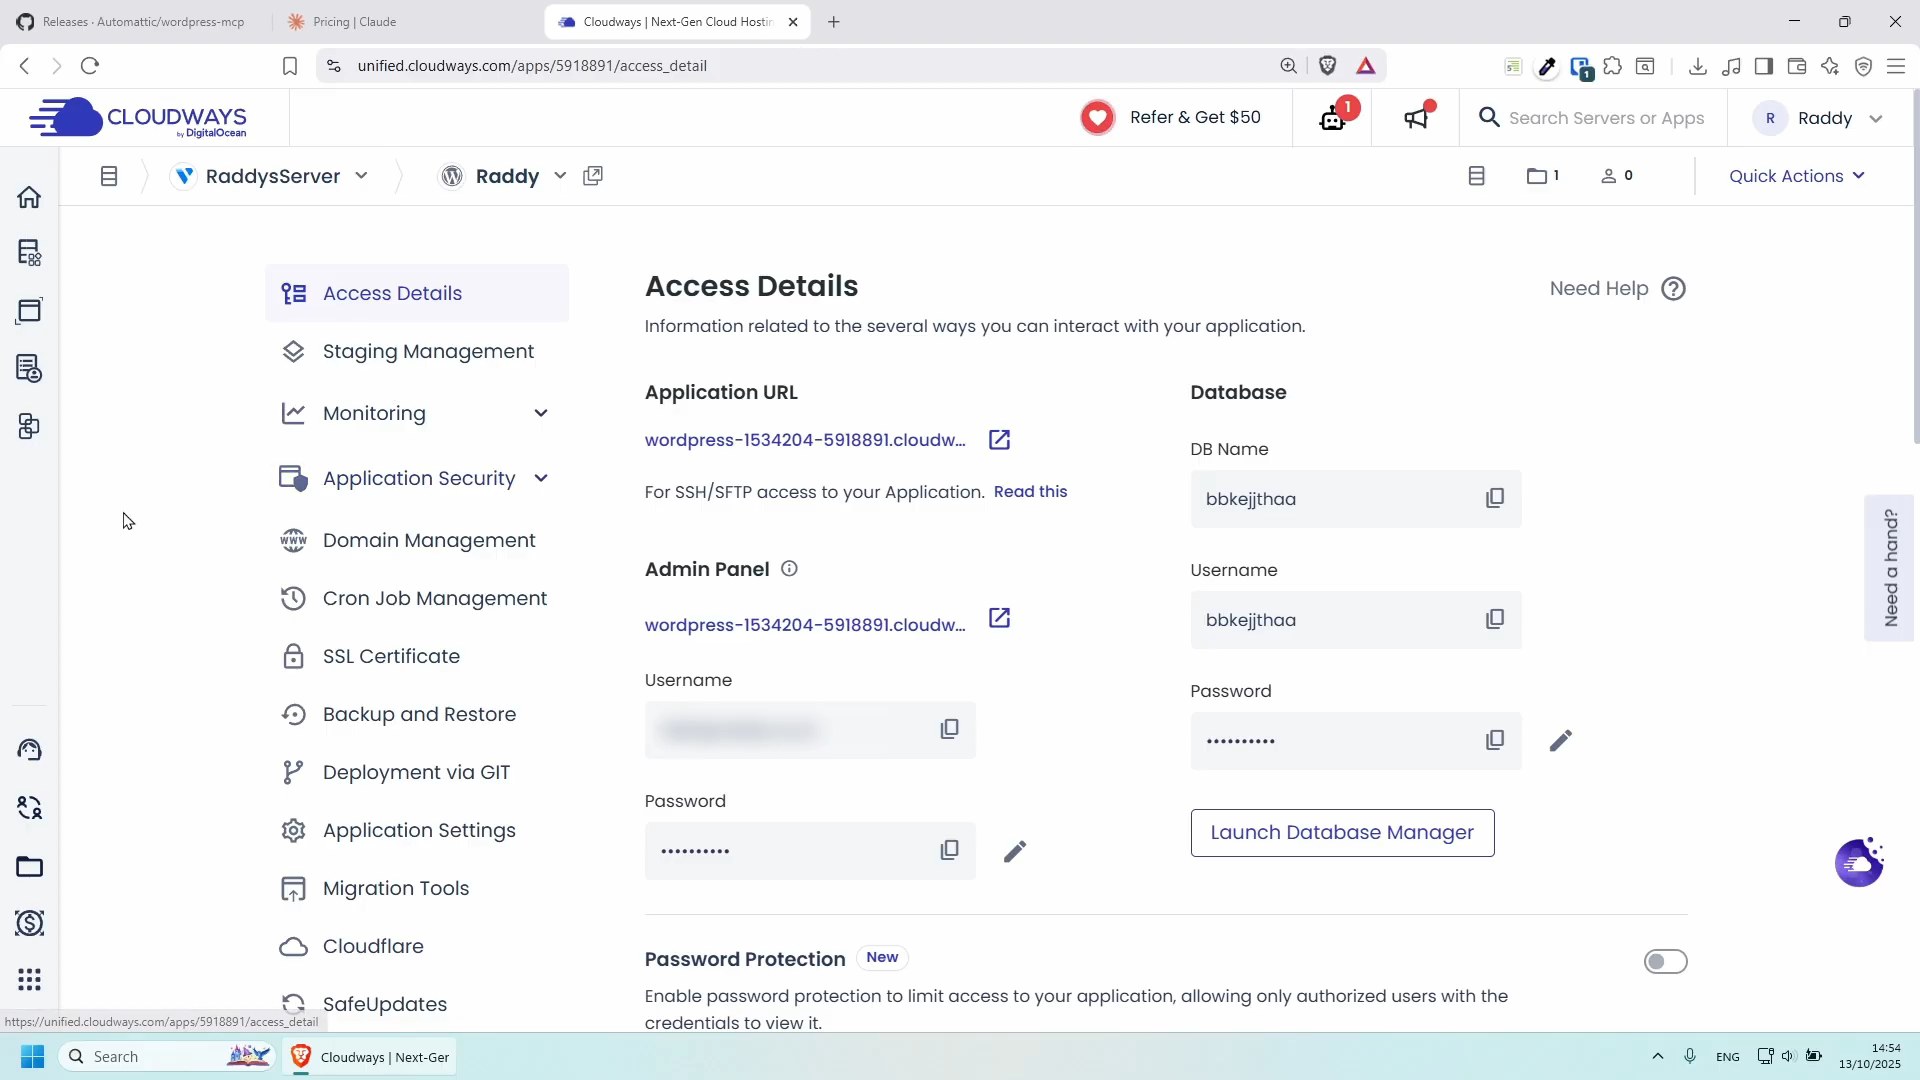
2. WordPress Site Setup
A screenshot of the Cloudways dashboard demonstrating the quick setup process for a new WordPress application.
When you're ready to explore new WordPress functionalities or test plugins, waiting hours to set up a new site can be a major hurdle. Thankfully, any managed hosting provider make deploying a WordPress instance incredibly fast, preparing the groundwork for installing powerful tools like the MCP plugin. This streamlined process allows you to skip the complexities of server configuration, letting you quickly get a functional WordPress site up and running. Opting for a managed hosting solution like Cloudways significantly simplifies setting up your WordPress environment, freeing you up to focus on development and testing rather than infrastructure.
Key Points
- Rapid WordPress site deployment
- Using Cloudways managed hosting
- Essential for MCP plugin installation
- Streamlined setup for testing
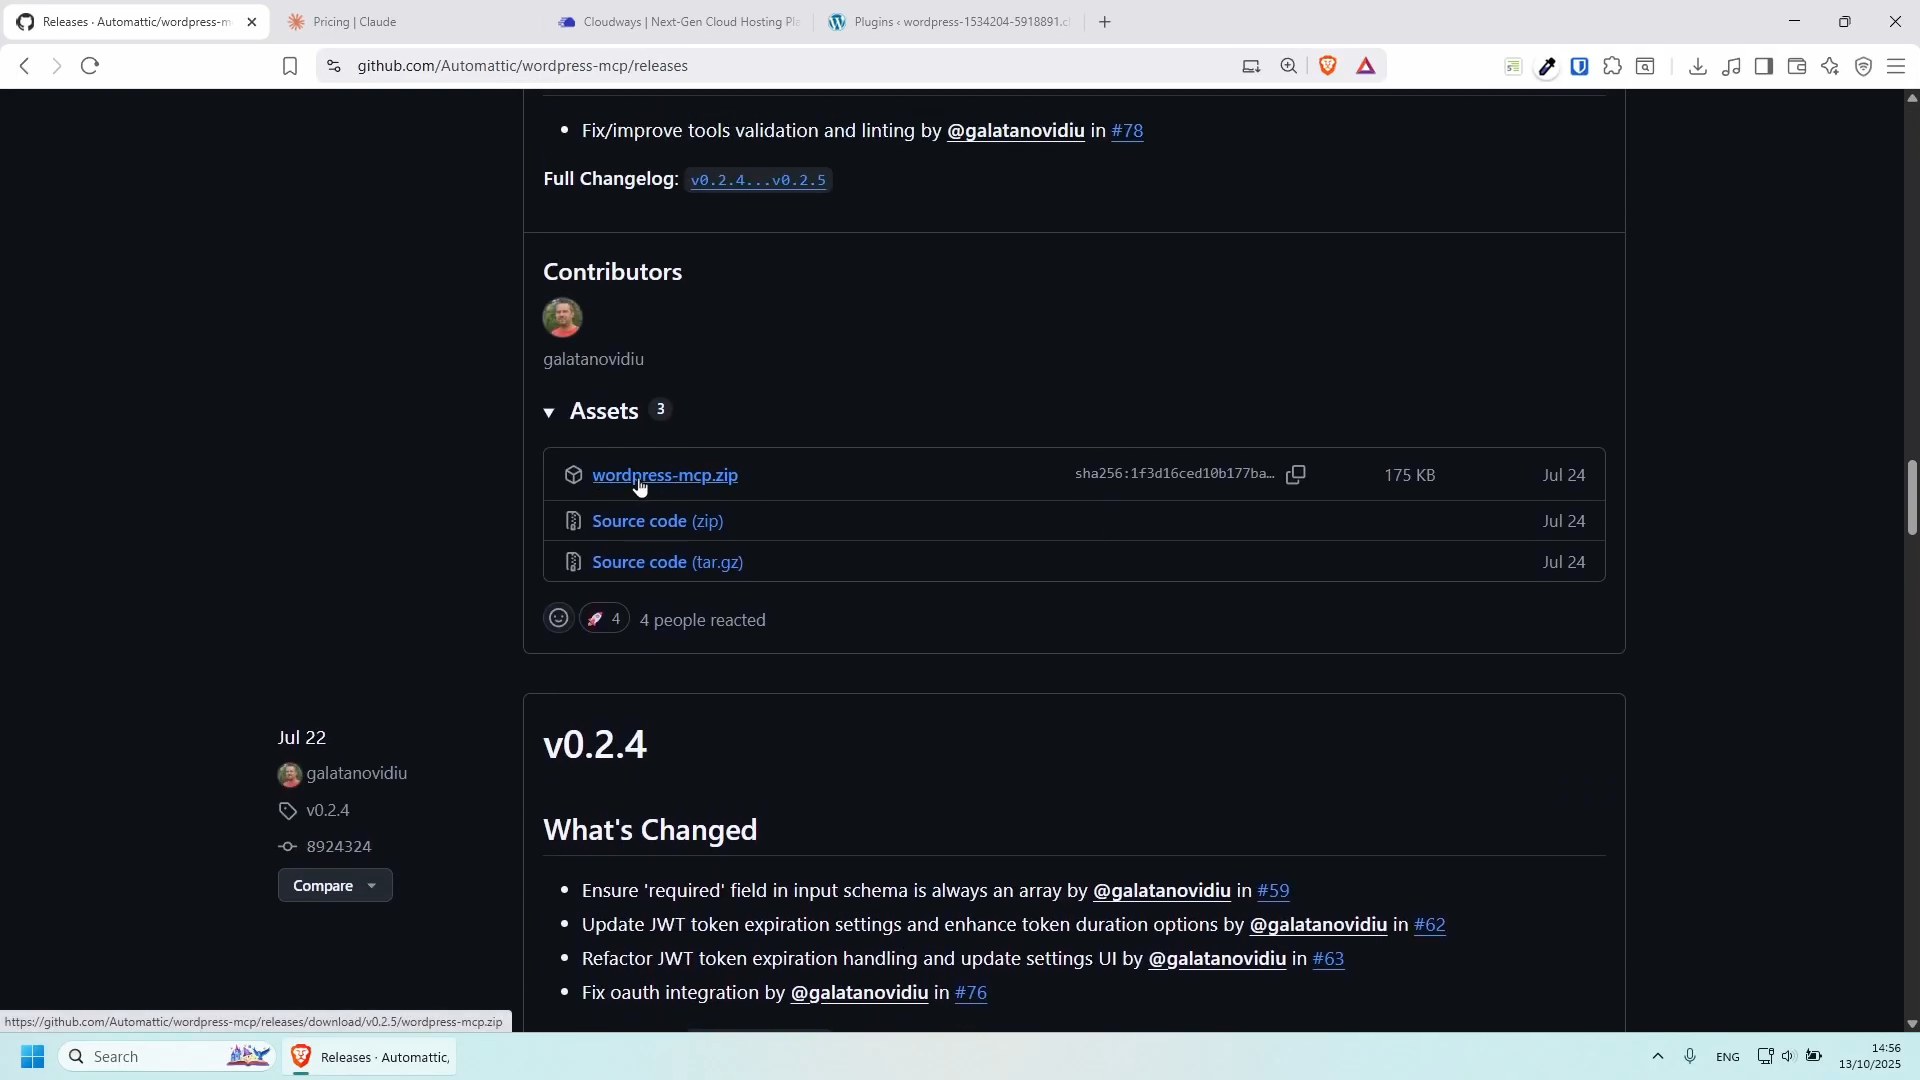
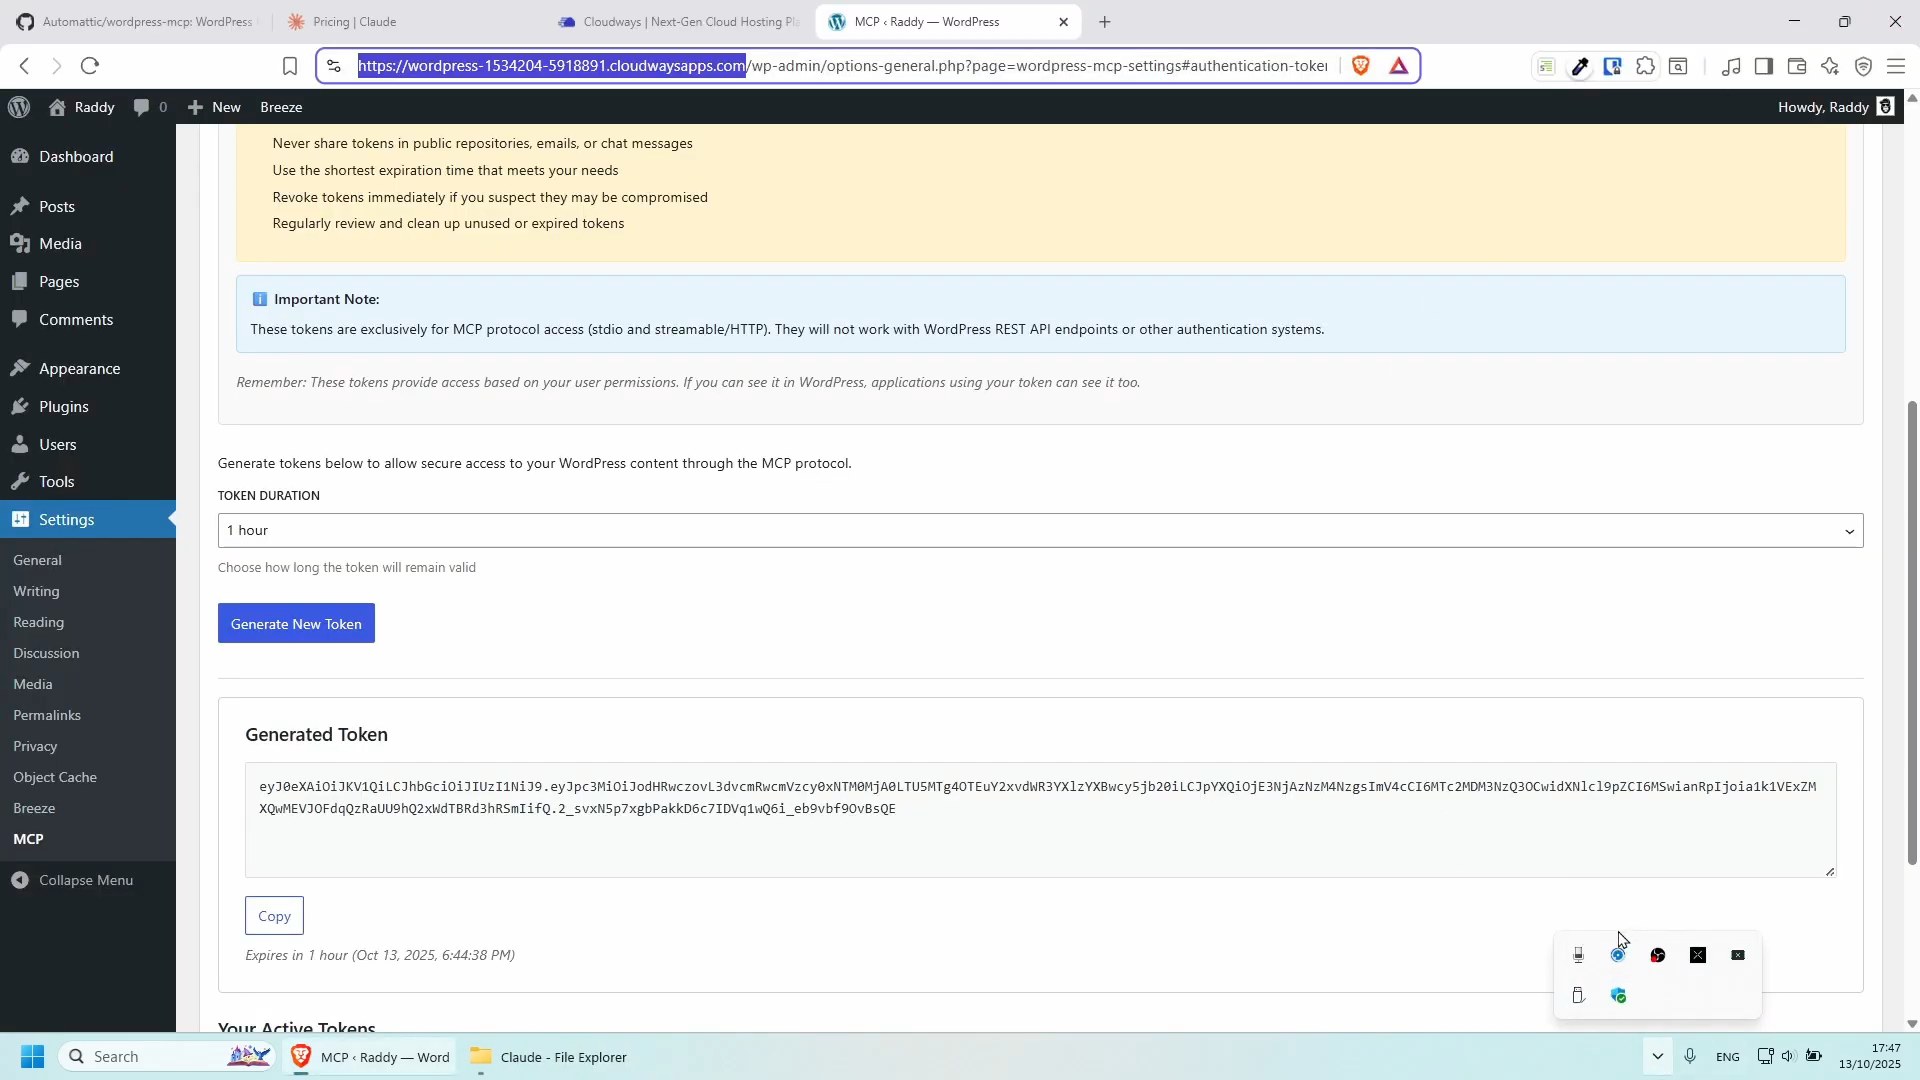
3. Install MCP Plugin
A screenshot illustrating the process of uploading and activating the WordPress MCP plugin from a downloaded ZIP file.
Sometimes, the plugin you need isn't conveniently found in the WordPress plugin directory, requiring you to manually source it from places like GitHub. For the official WordPress MCP plugin, the installation process involves a few simple steps to get it onto your site. You'll download the latest release as a ZIP file directly from its GitHub repository, then head to your WordPress admin panel to upload and activate it. Remember, after installation, navigate to the MCP settings to enable its functionality and generate an authentication token crucial for connecting AI tools. This manual download and upload method ensures you're using the official and most up-to-date version of the plugin.
Key Points
- Download MCP plugin from GitHub
- Install via WordPress upload
- Activate plugin and enable functionality
- Generate authentication token
4. Connect Claude to MCP
A code editor displaying the claude-desktop-config.json file open for editing, showing placeholders for URL and authentication token.
Linking your AI application, like Claude Desktop, to a newly installed WordPress plugin often involves navigating through obscure settings and editing configuration files. For a seamless connection with the WordPress Model Context Protocol (MCP) Plugin, you'll delve into Claude Desktop's developer settings, specifically editing its claude-desktop-config.json file. This is where you'll paste the WordPress site URL and the authentication token you generated earlier. After saving the changes and restarting Claude, your AI will be ready to communicate directly with your WordPress site. Manually modifying Claude Desktop's configuration file as per the GitHub instructions is key to enabling this powerful integration.
Key Points
- Configure Claude Desktop
- Edit
claude-desktop-config.json
- Input WordPress URL and MCP token
- Manual modification for integration
5. MCP Functionality Demo
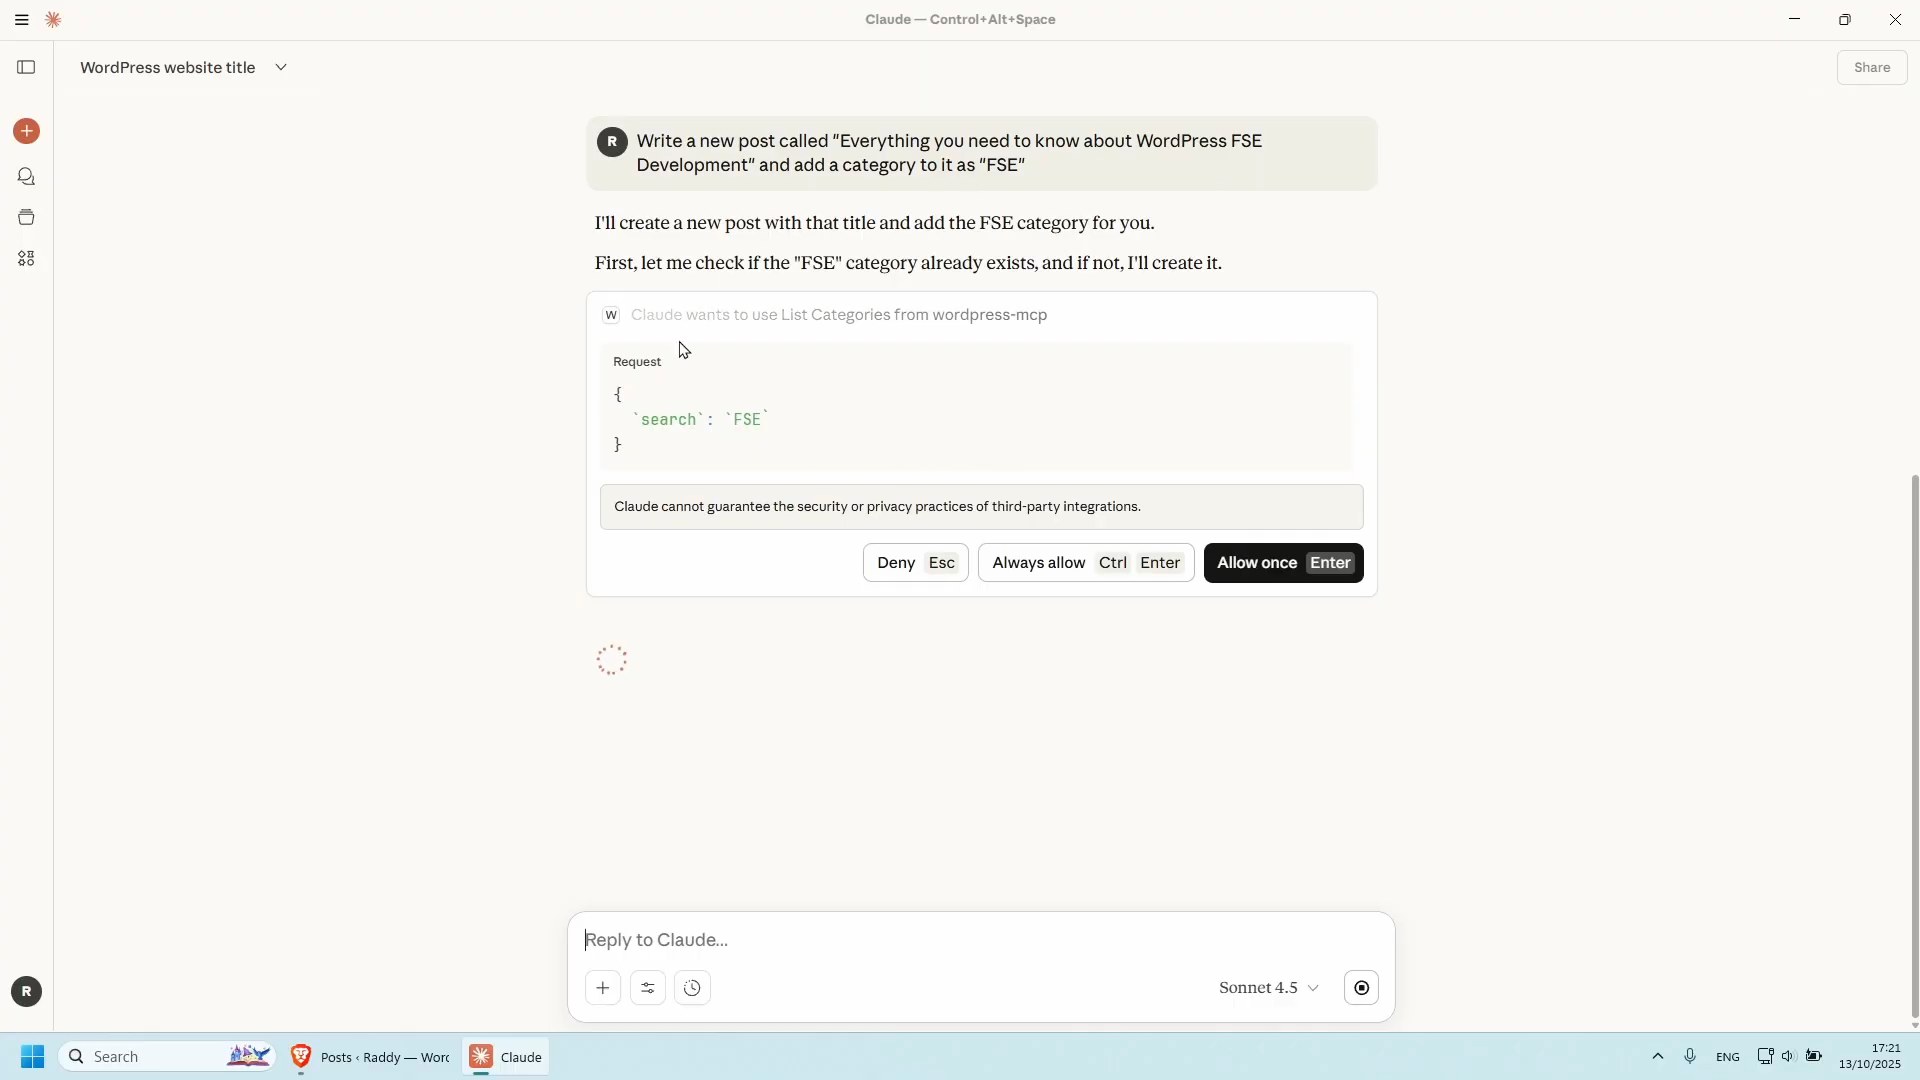
A screenshot of Claude Desktop interacting with a WordPress site, showing a successful command to update the site title and create a new blog post.
After all the setup, you're probably eager to see if your AI tool can truly command your WordPress site and execute tasks. The MCP plugin transforms Claude into a powerful content management assistant, demonstrating its ability to perform real-time administrative changes, like updating your site's title with a simple command. Beyond basic settings, Claude can also create new posts with specific categories, showcasing seamless content generation directly from your chat interface. This hands-on demonstration confirms that the MCP plugin empowers AI tools to directly manage and operate various WordPress functionalities, simplifying your workflow. By integrating AI through plugins like MCP, you can automate tasks such as content generation, customer support, and more, significantly enhancing the efficiency and functionality of your website.
Key Points
- AI updates WordPress site title
- Claude creates new posts and categories
- Direct AI control over WordPress
- Streamlined content management
Requirements
- Claude Desktop
- WordPress Site
- WordPress MCP Plugin
Tools Used
- WordPress
- Claude Desktop
- GitHub
#WordPressMCPPlugin #ClaudeAI #AIWordPressIntegrati #ModelContextProtocol #AIWorkflowAutomation #MCPPluginIntroductio #WordPressSiteSetup
References
- Source video: Turn WordPress into an AI-Powered CMS with MCP + Claude Code — Raddy
License: Creative Commons Attribution (CC BY)
This content was produced through subtitle extraction, chapter generation, and re-editing based on the generated subtitles and chapters.